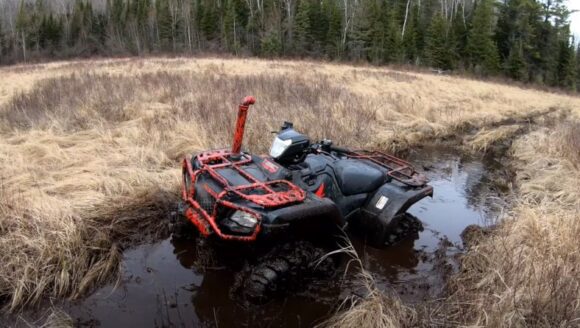
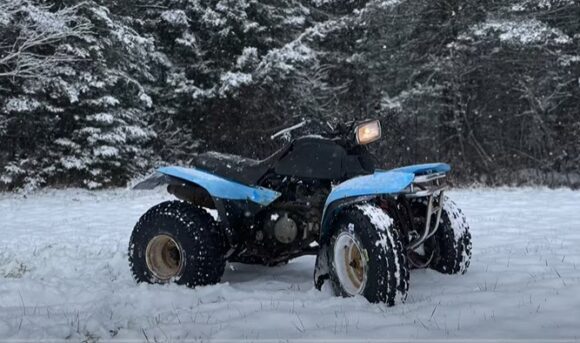
The Honda Rubicon 500 is famous for its performance and reliability. It can perform frequent, harsh, and low-maintenance agricultural tasks. It has a smooth transmission system that can haul any probable thing you hook on to.
However, machines are prone to failure, and Honda Rubicon 500 is no exception.
The following five problems are most occurring according to the users of the Honda Rubicon 500.
- Transmission Problems
- Oil Pump Issues
- Starting Problems
- Steering Problems
- Brake Problems
This article will discuss users’ most common 2002 and 2004 Honda Rubicon 500 problems during operation and their potential solutions.
Common 2002 and 2004 Honda Rubicon 500 Problems

The most occurring problems with the Honda Rubicon 500 are described below with their easy troubleshooting methods:
1. Transmission Problems
In the beginning, your Rubicon may shift up perfectly but won’t shift down when needed power.
It may shift okay if you just shut it off and turn it back on an hour later.
After a certain period of time, the day will come when it won’t shift up or down at all. Whenever you try to shift up or down, it starts flashing as follows:
D1
D2
ESP
It seems to get stuck in gear and won’t shift.
The Fix:
You can follow the steps below to troubleshoot this error code:
- Remove the front and rear fenders to expose every electrical connector.
- Unplug electrical connectors and pack them with dielectric grease.
- Plug in the connectors.
- Clear all the error codes and memory on the control unit.
- Ensure that the angle sensor is adjusted and mounted correctly.
2. Oil Pump Issue
Early Rubicon had a failure-prone oil pump. The oil pump bypass valve was an issue.
The pressure relief valve would stick open and not allow proper oil pressure to cook the Hondamatic, the first semi-automatic transmission manufactured by Honda.
A faulty oil pump causes quick melting of the piston.
One of the users also reported on Honda ATV Forums that there was a clicking noise from the valve, and the oil was not circulating to lubricate the valve.
If your oil pump is not working, it can also cause the piston to melt pretty quickly.
The Fix:
There is an oil check bolt at the top of the valve cover. Take that bolt out and crank it up.
If the oil starts spraying out, you know the pump is working well, and it has to be a valve clearance issue.
The following guide could help you with valve clearance adjustment-
- Release the latch, push down on the seat and lift up
- Use a pair of needle nose pliers or a screwdriver to pull out plastic rivets and 10mm bolts holding the center section.
- Removal of the central section will expose plastic rivets at the front and a 5 mm Allen back at the back.
- Remove the tank by pulling out two 10 mm bolts, turning off
the fuel and disconnecting the hose going down to the carburetor.
- Pull out plastic rivets and bolts holding the plastic cover, which expose four caps that cover up the valves.
- Pull out access plugs on the side of the crankcase, which is 12 mm in the center and 6 mm on top.
- Rotate the crankcase bolt counterclockwise until you see a little T with a hash mark.
- Remove caps at the top dead center, which will expose the adjustment bolts.
- Replace O-rings inside the caps if you notice some leakage.
- Adjust the valve lash with the pinch bolt.
- Use a 0.1 mm feeler gauge in between the adjustment and the top of the valve and tighten down the adjustment flathead screw.
- Go over to the two-exhaust valve with the same procedure but set to 0.12 mm.
- Put a light layer of oil on the O-rings before you snug back down the caps with a 22 mm wrench.
- Finally, put back the fuel tank and all those little rivets.
3. Starting problem
Your Rubicon 500 may fail to start and may make a clicking sound instead of roaring to life.
Though it may start for a few seconds when spraying fuel into it, it soon stalls.
The battery and the starter solenoid are the two most likely reasons contributing to the starting issues.
The Fix:
If the battery causes the problem, the following guide will help you to replace the battery:
- Remove the seat by pulling on the release lever.
- Remove the cover and rubber strap that holds down the battery.
- First, remove the negative and positive wires with a screwdriver.
- Pull out the battery and remove the rubber pad to clean the debris inside.
- Fill out a new battery with acid and wait for 20 minutes to completely drain into the battery.
- Put on the plastic cap and wait for an hour for acid to be absorbed entirely into the battery.
- Reinstall the new battery.
If the ATV still does not start, replace the solenoid. Follow the points below to replace it:
- Turn off the ignition switch.
- Locate the solenoid right by the battery under the seat.
- Use a 10 mm socket to remove the nuts.
- Pull out the electrical connector and take out the solenoid.
- Reinstall the new solenoid and everything in the same way they came off.
4. Steering problem
Suddenly steering becomes stiff when turned far left or right.
This could happen if you left your ATV for a long time and the clutch plates in the diff stick together.
The Fix:
To fix the steering problem, you should do the following steps:
- Add one oz. of GM limited slip diff fluid to the diff after each change of the diff oil
- Treat with WD40 in the steering shaft bearings to loosen them up. PB Blaster is a good option for loosening bushings.
- If the treatments do not work, replace the upper steering bushing at the top.
- Make sure to adjust and fix the low tire pressure.
5. Brake problems
Some users on QUAD CRAZY FORUM have reported brake problems with the Honda Rubicon 500.
The problems include locked-up front and rear brakes, rusted nuts on the brake cable or brakes not working as expected.
The Fix:
Front Brakes
- Measure free play at the tip of the front brake lever. It should be 25-30 mm.
- Measure the lining thickness on both wheels.
Standard: 0.16 in
Service limit: 0.04 in
- Replace brake shoes if the lining is worn beyond the limit.
- Adjust the brake lining clearance if the lever free play is excessive but the lining thickness is not beyond the service limit.
- Add brake fluid if the fluid level approaches the lower-level mark.
Rear Brakes
- Check and adjust brake pedal free play. It should be 15-20 mm.
- Check and adjust the brake lever free play. It should be 15-20 mm.
- You have to replace the brake shoes if the arrow aligns with the reference mark.
- Replace worn-out brake cables.
- Ensure that the spring, brake arm and fasteners are in good condition.
- Drain water from the brakes and replace the brake seals with an authorized Honda dealer as soon as possible.
Yamaha Grizzly vs Honda Rubicon
Signs of Faulty Honda Rancher Angle Sensor
Honda Foreman 500 Angle Sensor Reset
2005 Honda Rincon 500 Problems
Sources:


